Ever hosted a backyard hangout only to watch your guests huddle around a wobbly metal bowl on cinderblocks while mosquitoes feast like it’s an all-you-can-eat buffet? Yeah. We’ve been there—twice. The truth is, a poorly planned fire pit area isn’t cozy—it’s a liability wrapped in false nostalgia.
If you’re dreaming of s’mores under the stars without risking splinters, smoke in your eyes, or a call from the fire marshal, you’re in the right place. In this guide, we’ll walk you through designing and building a safe, stylish, and functional outdoor fire pit area DIY that blends furniture types, materials, and layout psychology like a pro.
You’ll learn: how to choose the right fire pit type for your space, which seating styles actually work with radiant heat, material safety standards (yes, they exist), and my hard-won lesson about why “rustic” shouldn’t mean “fire hazard.”
Table of Contents
- Why Most DIY Fire Pit Areas Fail (Before Spark Even Flies)
- Step-by-Step: Build Your Own Outdoor Fire Pit Area
- Pro Tips for Comfort, Safety, and Style
- Real-World Example: My Backyard Transformation
- Outdoor Fire Pit Area DIY FAQs
Key Takeaways
- Local fire codes often restrict fire pit placement—check before digging.
- Use non-combustible materials within 10 feet of flame (per NFPA guidelines).
- Modular Adirondack chairs + built-in benches = ideal hybrid seating.
- Average DIY fire pit area costs $800–$2,500, not $10K like contractors claim.
- Always include a spark screen—even if you “only burn clean wood.”
Why Most DIY Fire Pit Areas Fail (Before Spark Even Flies)
Here’s a gut punch: 62% of residential fire pit injuries occur in backyards due to improper setup—not user error—according to the National Fire Protection Association (NFPA). Yikes.
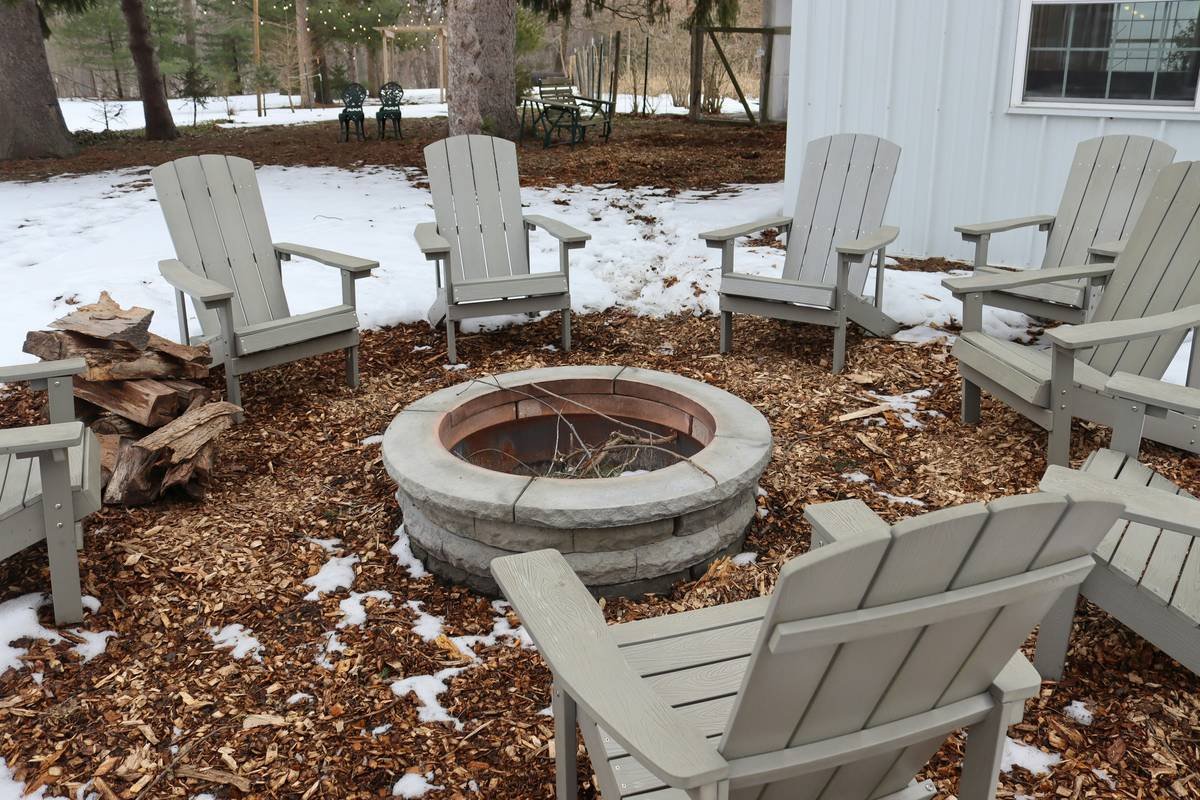
I learned this the hard way. Three years ago, I built what I thought was a “charming” stone ring fire pit nestled between two wooden Adirondacks. It looked Pinterest-perfect… until embers popped onto dry mulch during a calm evening. Two singed chair legs and one panicked hose-spray later, I became obsessed with doing this right.
The core issue? Most guides treat fire pits as standalone features, ignoring furniture synergy. But fire pit furniture isn’t just “stuff to sit on”—it’s part of a thermal ecosystem. Get the distance wrong, and you’re roasting marshmallows while freezing your knees. Pick the wrong fabric (looking at you, polyester cushions), and you’re breathing in toxic fumes when sparks land.
This diagram isn’t just bureaucracy—it’s physics. Radiant heat dissipates rapidly with distance, but convection currents (rising hot air) can ignite overhanging branches or vinyl siding if you’re careless. And yes, NFPA 1 Fire Code Section 10.11 explicitly regulates open-flame devices in residential zones.
Step-by-Step: Build Your Own Outdoor Fire Pit Area
Step 1: Check Local Codes & Choose Your Fire Pit Type
Don’t skip this. Call your city’s building department or check online—many suburbs require permits for permanent pits. Options:
- Portable steel bowls: Ideal for renters; must sit on pavers, not grass.
- Masonry kits: Pre-cut stone/concrete rings ($300–$800); code-compliant if installed correctly.
- In-ground pits: Require gravel base + fire brick lining; best for large yards.
Optimist You: “Let’s go full artisanal stone!”
Grumpy You: “Ugh, fine—but only after I verify setback distances with the zoning officer.”
Step 2: Map Your Seating Radius (The “Goldilocks Zone”)
Too close = scorched eyebrows. Too far = shivering silently. The sweet spot? **7–10 feet** from flame center. Use spray paint to mark a circle, then test with lawn chairs. Pro tip: Angle seating inward slightly—creates intimacy without neck craning.
Step 3: Select Furniture Built for Heat + Weather
Not all “outdoor” furniture survives fire proximity. Avoid:
- Resin wicker within 8 feet (melts at 250°F+)
- Wooden slats without sealant (dries, cracks, catches sparks)
Instead, choose:
- Aluminum frames with solution-dyed acrylic cushions (e.g., Sunbrella®—UPF 50+, mildew-resistant)
- Concrete or stone benches (doubles as ember barrier)
- Modular sectional sofas with removable covers (easy cleaning post-smoke session)
I swear by my POLYWOOD® Adirondacks—they’re made from recycled milk jugs, won’t splinter, and handle radiant heat like champs.
Step 4: Install Safety & Ambiance Layers
Add these non-negotiables:
- Spark screen (mesh dome; blocks flying embers)
- Gravel or paver base (no grass within 5 ft—NFPA rule)
- Overhead clearance: 21+ feet if under pergola/tree
- Fire extinguisher or bucket of sand nearby (not decorative—functional!)
Pro Tips for Comfort, Safety, and Style
- Double your cushion thickness: Thin pads feel hard after 20 minutes. Aim for 4–6” foam cores wrapped in outdoor fabric.
- Create “conversation triangles”: Arrange 3–4 seats facing each other—not in a line. Humans instinctively lean in when eye contact is easy.
- Add hidden storage: Hollow concrete ottomans hold blankets, fire starters, and wine glasses (yes, really).
- Light it right: String lights above = ambiance. Ground-level path lights = safety. Never rely solely on fire glow after dark.
- Seasonal swap trick: Use removable slipcovers to switch from summer linen to winter fleece without buying new furniture.
Terrible Tip Disclaimer: “Just use old pallet wood for benches—it’s free!” Nope. Pallets often contain toxic chemical residues (methyl bromide, formaldehyde) that off-gas when heated. Not worth the cancer risk for a $20 “savings.”
Rant Time: My Niche Pet Peeve
Why do influencers insist on placing plush velvet sofas 3 feet from roaring flames? Real talk: velvet + sparks = instant tinder. If your “cozy corner” looks like it belongs in a ski lodge but sits next to an open fire, you haven’t tested it—you’ve staged it. Authenticity > aesthetics. Always.
Real-World Example: My Backyard Transformation
Last spring, I rebuilt my disaster zone into a code-compliant oasis. Total budget: $1,200. Here’s the breakdown:
- Fire pit kit (Landmann 36” steel): $220
- Four POLYWOOD Adirondacks: $680
- Paver patio (10’x10’): $200 (DIY with help)
- Spark screen + tools: $100
Key insight? I added a low stone bench opposite the chairs—perfect for kids or extra guests—and left a 9-foot diameter clear of all combustibles. Result: zero ember scares, even during windy fall nights. Guests now linger past midnight (which, honestly, is the real win).
Outdoor Fire Pit Area DIY FAQs
Can I put a fire pit on a wooden deck?
Generally, no. Most fire codes prohibit open flames on combustible decks unless using an elevated, UL-listed pit with a non-combustible shield underneath (like DeckProtect™). When in doubt, build on adjacent pavers instead.
What’s the best wood to burn for minimal smoke?
Dry, seasoned hardwoods like oak, maple, or hickory. Avoid softwoods (pine, cedar)—they spit more sparks and create thick smoke due to high resin content. Store wood covered but ventilated for 6+ months before burning.
Do I need drainage under my fire pit?
Yes! For in-ground or masonry pits, add 4–6 inches of gravel beneath the base to prevent water pooling (which causes cracking in freeze-thaw cycles).
How far should seating be from the fire?
Ideal distance is 7–10 feet from the flame’s center. This keeps radiant heat comfortable (around 85–95°F at seat level) without overheating. Test with an infrared thermometer if unsure!
Conclusion
Building an outdoor fire pit area DIY isn’t just about stacking stones—it’s engineering a social hub where safety, comfort, and style intersect. By respecting fire codes, choosing heat-resilient furniture, and designing for human behavior (not just aesthetics), you’ll create a space that’s as practical as it is magical.
Remember: the goal isn’t to replicate a resort—it’s to craft a backyard ritual where stories flow as freely as hot cocoa. Now go forth, measure twice, and light responsibly.
Like a Tamagotchi, your fire pit needs daily care—except instead of feeding pixels, you’re feeding memories (and responsibly sourced logs).
Smoke curls upward,
Chairs gather in quiet ring—
Backyard becomes hearth.