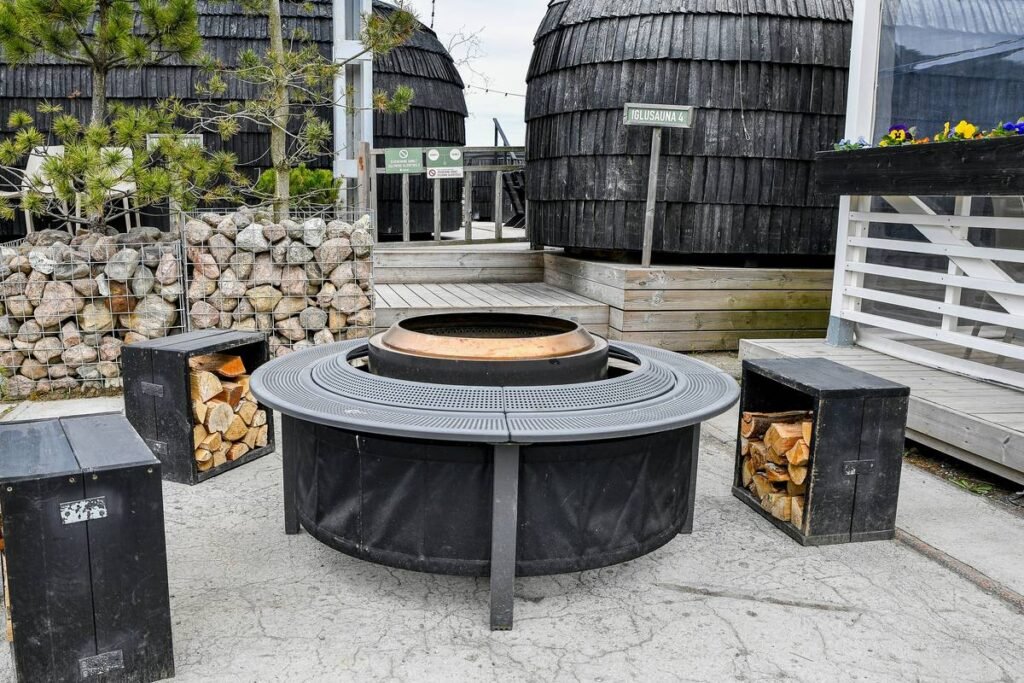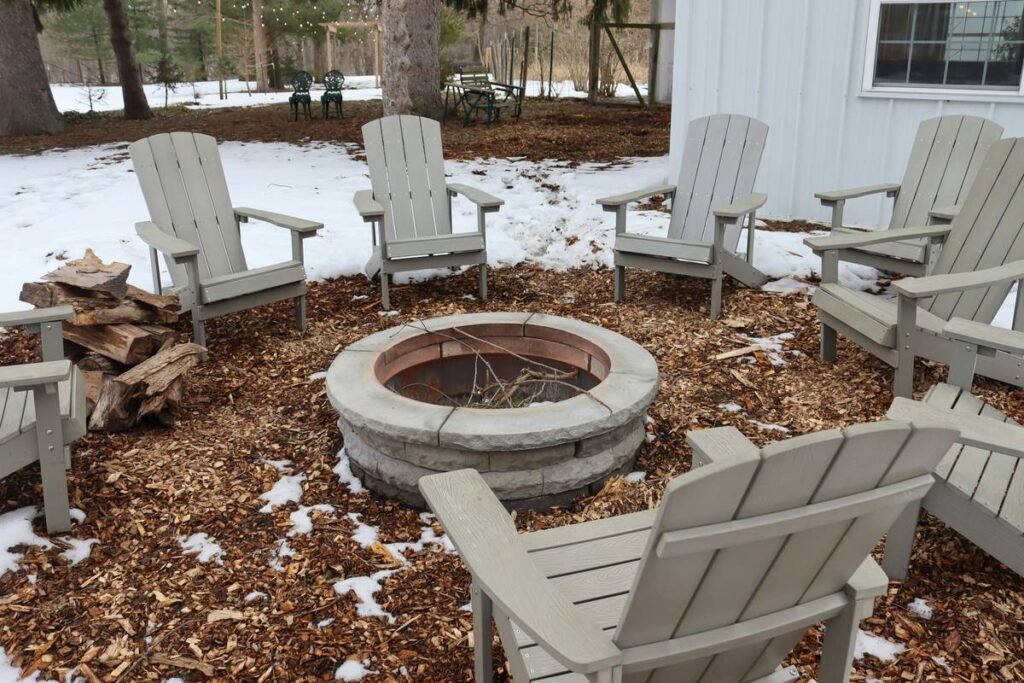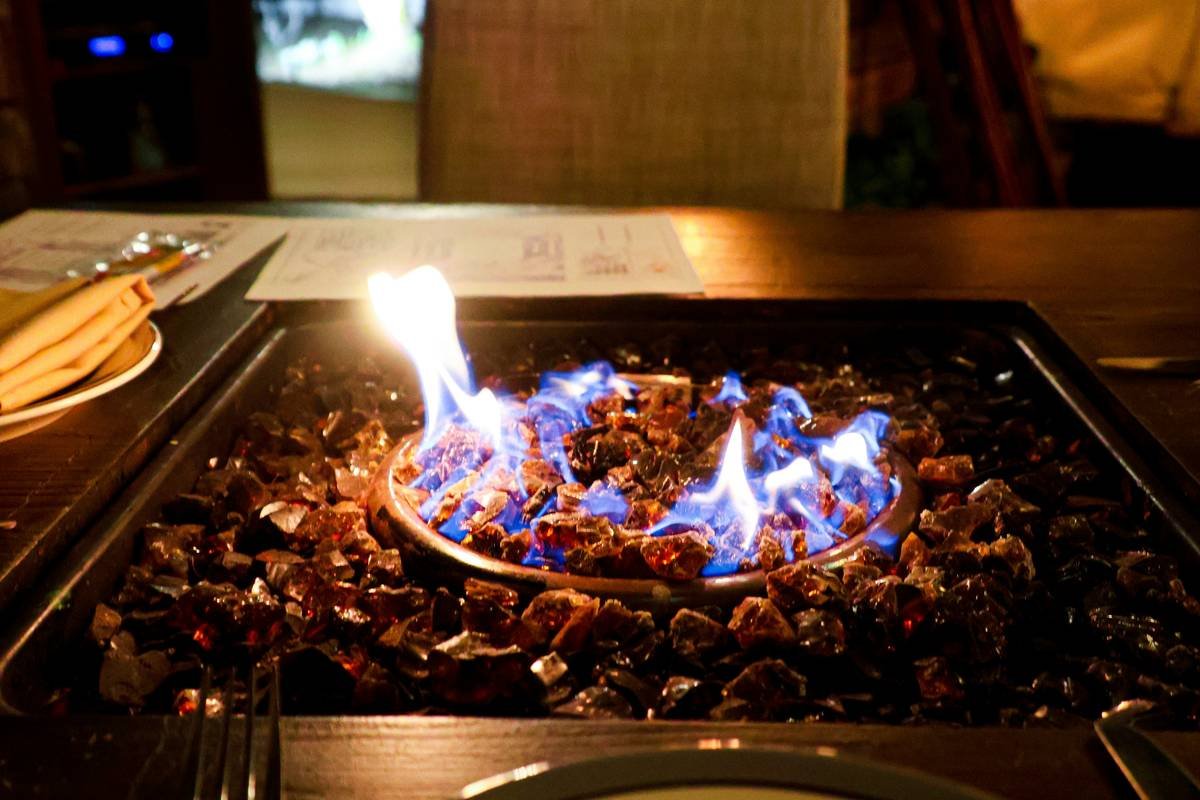
Ever spent an entire weekend scrolling Pinterest only to realize your dream patio setup costs more than your first car? Yeah, us too. But what if we told you that a stunning diy fire pit table—the centerpiece of cozy nights, marshmallow roasts, and spontaneous guitar sessions—can be built for under $300 with basic tools and a Saturday afternoon?
In this guide, you’ll learn exactly how to design, build, and safely install your own fire pit table using proven materials and techniques vetted by backyard builders and outdoor living experts. We’ll walk through material selection, safety codes (yes, they matter), step-by-step construction, styling hacks, and even share a real-life build that survived three Midwest winters—and countless spilled IPAs.
Table of Contents
- Why DIY Fire Pit Tables Are Worth It (and When They’re Not)
- Step-by-Step Guide to Building Your Own DIY Fire Pit Table
- Pro Tips for Safety, Style, and Longevity
- Real Build Case Study: From Blueprints to S’mores
- FAQ: DIY Fire Pit Table Edition
Key Takeaways
- A well-built DIY fire pit table blends functionality, aesthetics, and safety—no professional mason required.
- Natural gas or propane burners are safer and cleaner than wood-burning designs for enclosed patios or small yards.
- Always check local fire codes and HOA rules before building; many municipalities regulate BTU output and clearance distances.
- Use non-combustible materials like concrete, stone, or metal for the tabletop and enclosure—never wood or plastic near the flame.
- Styling matters: Add height-adjustable seating and weather-resistant cushions to maximize comfort and usability year-round.
Why DIY Fire Pit Tables Are Worth It (and When They’re Not)
Let’s cut through the smoke: store-bought fire pit tables average $800–$2,500, with premium models from brands like Solo Stove or Modfire flirting with $4K. Meanwhile, the average American spends just 12% of their home improvement budget on outdoor furniture (HGTV, 2023). That mismatch leaves most of us staring longingly at magazine spreads while nursing lukewarm beers on folding chairs.
I learned this the hard way. My first attempt? A “budget” build using reclaimed pallet wood and a $50 propane camp stove. Spoiler: it lasted one evening. The heat warped the wood within 20 minutes, and my neighbor called 911 thinking my yard was on fire (thanks, visible orange flames + suburban paranoia). Lesson learned: combustion + combustibles = bad news.
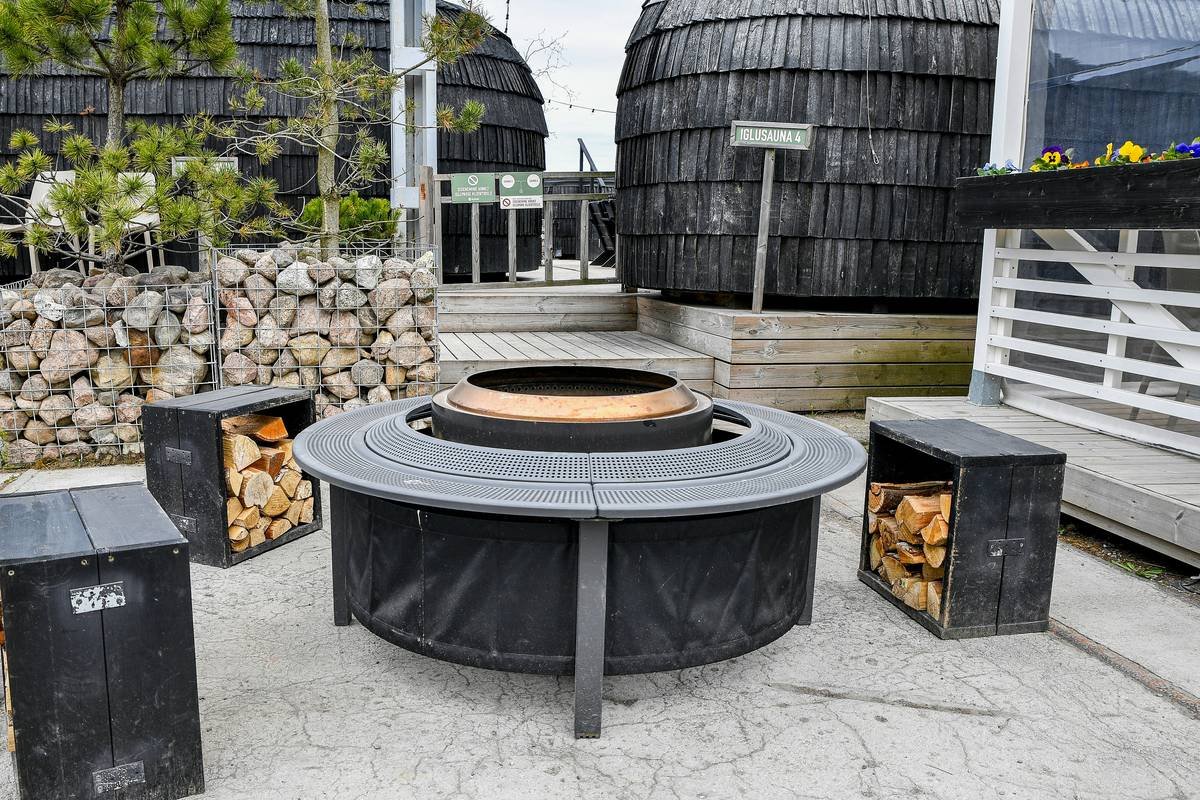
But when done right, a DIY fire pit table isn’t just cost-effective—it’s customizable. Want a 48-inch round table with built-in ice bucket? Done. Prefer a linear design that doubles as a bench? Absolutely. This flexibility, paired with genuine craftsmanship, creates outdoor furniture that feels personal, not purchased.
Optimist You:
“Building your own means total creative control!”
Grumpy You:
“Ugh, fine—but only if I don’t have to mix more than two bags of concrete.”
Step-by-Step Guide to Building Your Own DIY Fire Pit Table
What do I need before I start?
Gather these essentials:
- Fire-rated burner kit (propane or natural gas; we recommend Firegear or Monessen—both UL-listed)
- Non-combustible table base (concrete blocks, steel drum, or precast concrete planter)
- Heat-resistant tabletop material (concrete board, granite slab, or stainless steel sheet)
- Fire glass or lava rock (never use regular river rock—it can explode!)
- Basic tools: drill, level, tape measure, gloves, safety goggles
How do I choose the right size and shape?
Measure your space. Leave at least 36 inches of clearance on all sides for seating and airflow. Round tables (36–48” diameter) work best for conversation circles; rectangular (48”x24”) suit narrow patios. Pro tip: Sketch your layout with painter’s tape on the ground first.
Can I really install a gas line myself?
If you’re using propane, yes—most kits include quick-connect hoses rated for outdoor use. But for natural gas? Hire a licensed plumber. According to the National Fire Protection Association (NFPA), improper gas line installation causes 18% of residential outdoor fire incidents. Don’t gamble with gas.
What’s the actual build process?
- Prepare the base: Level the ground. Stack concrete blocks or position your steel drum. Ensure it’s stable—no wobbling!
- Install the burner: Place the burner pan inside the base. Connect to your fuel source per manufacturer instructions. Test for leaks with soapy water (bubbles = bad).
- Add ignition system: Most kits include push-button or matchless ignition. Mount it accessibly but out of splash zones.
- Top it off: Cut your tabletop material to size with a masonry blade. Drill a center hole for the burner stem. Secure with high-temp silicone adhesive.
- Finish with media: Pour 2–3 inches of fire glass or lava rock over the burner to diffuse flames and hide hardware.
Pro Tips for Safety, Style, and Longevity
🔥 Anti-Advice Alert: Terrible Tip Disclaimed
“Just bury a metal trash can in the ground and call it a fire pit table.” NO. Underground installations trap heat, risk carbon monoxide buildup, and violate International Residential Code (IRC) Section R302.10. Stick to above-ground, ventilated designs.
My Niche Pet Peeve Rant
Why do so many DIY tutorials skip wind considerations? If your backyard funnels gusts like a wind tunnel (looking at you, Denver!), your flame will either roar unpredictably or snuff out. Install a wind guard ring around the burner—or better yet, position your table near a partial wall or hedge.
5 Non-Negotiable Best Practices
- Clearance is king: Maintain 10+ feet from structures, overhangs, and flammable landscaping (per NFPA 1).
- Use UL-listed components: Look for certification labels—never cobble together random hardware.
- Cover it up: Invest in a waterproof cover. Moisture + steel = rust city.
- Seasonal checkups: Inspect hoses, valves, and ignition systems every spring.
- Style with function: Add hidden storage underneath for blankets, remotes, or extra propane tanks.
Real Build Case Study: From Blueprints to S’mores
Last summer, homeowner Marcus T. (Chicago, IL) transformed his 12’x10’ concrete patio into an entertainment hub with a DIY fire pit table he built for $278. He used a repurposed steel livestock trough ($65 from a farm surplus store), a 65,000 BTU propane burner kit ($120), and a custom-cut concrete board top ($93).
“I thought I’d need masonry skills,” Marcus said. “But really, it was just leveling, drilling, and following the gas instructions to the letter.” After six months—including two snowstorms—the table shows zero corrosion, thanks to a high-temp matte black spray paint and a fitted vinyl cover.
His secret upgrade? A removable tray insert that swaps fire media for a serving platter during brunches. “Dual-purpose furniture = adulting win,” he texted me, accompanied by a photo of mimosas beside glowing amber fire glass.
FAQ: DIY Fire Pit Table Edition
Can I convert a coffee table into a fire pit table?
Only if it’s made of non-combustible material like metal or stone—and has adequate ventilation underneath. Never modify wooden or laminate furniture; heat buildup can cause spontaneous combustion.
How much does a DIY fire pit table cost?
Typical range: $200–$500. The burner kit is your biggest expense (usually $100–$250). Save money by sourcing bases secondhand (check Craigslist, Facebook Marketplace, or salvage yards).
Do I need a permit?
Possibly. Over 60% of U.S. cities require permits for permanent outdoor fire features (per ICC data). Call your local building department—better safe than fined.
Can I use it year-round?
Absolutely. Many homeowners in colder climates (like Minnesota or Colorado) use theirs through fall and early winter. Just avoid operation during heavy rain or snow accumulation.
Conclusion
A DIY fire pit table isn’t just a weekend project—it’s an investment in moments. Late-night talks, birthday celebrations, quiet mornings with coffee… all centered around warmth you built yourself. With the right materials, attention to safety codes, and a dash of creativity, you can craft a durable, beautiful fire feature that rivals (and outlasts) high-end retail versions.
So grab your measuring tape, double-check those local regulations, and light up your backyard—responsibly. Your future self, wrapped in a blanket with a mug of cider, will thank you.
Like a Tamagotchi, your fire pit needs daily care—okay, maybe weekly wiping and seasonal checks. But feed it right, and it’ll glow for years.
Haiku Break:
Steel frame, flame dances,
Concrete holds the evening chill—
S’mores seal the deal.