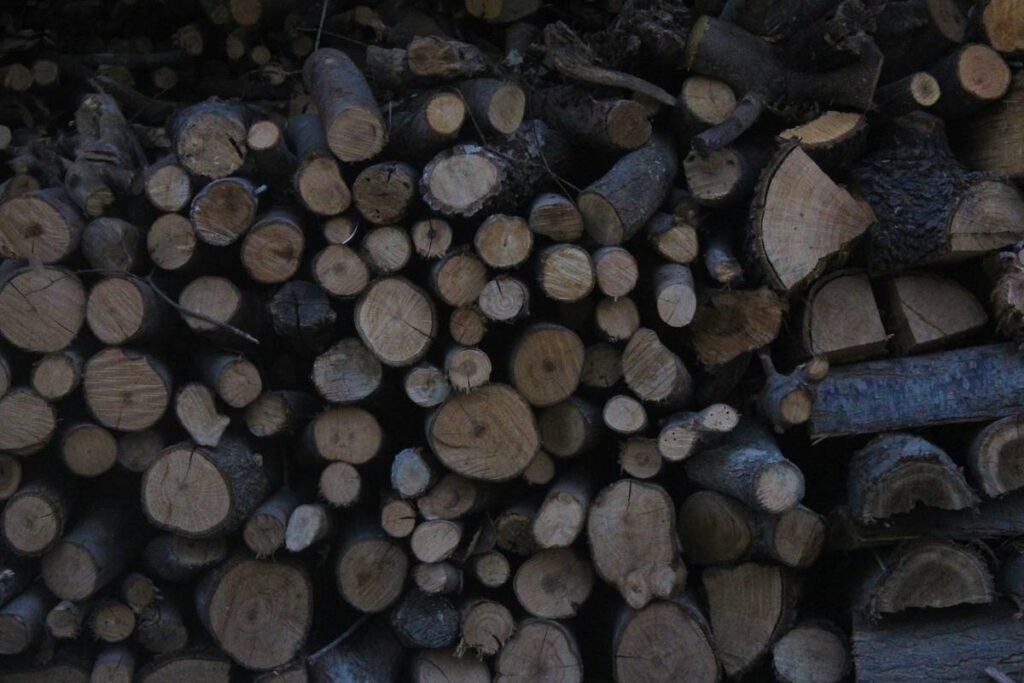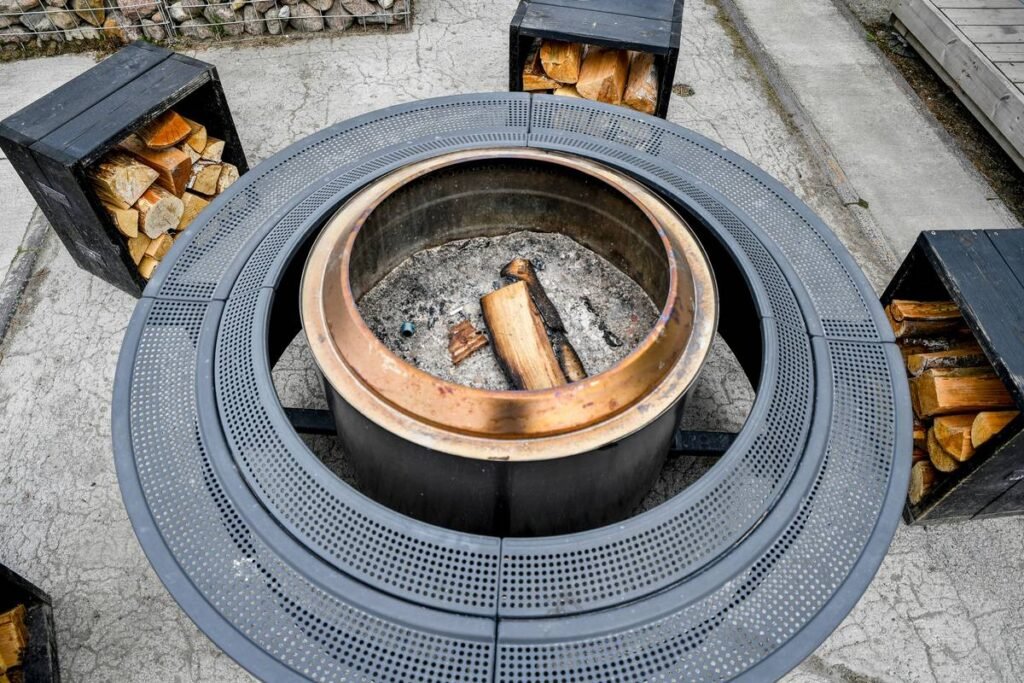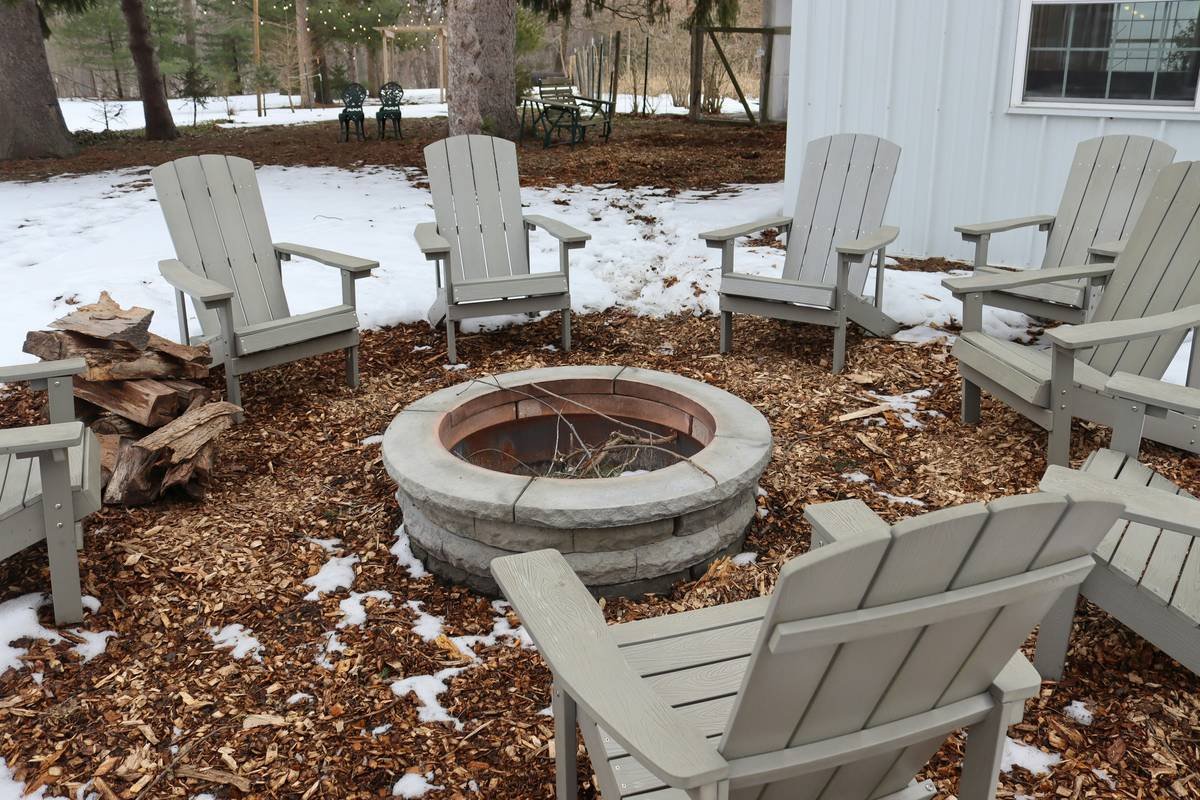
You spent hours picking the perfect fire pit. Then you realized—the surrounding space is a cluttered mess of mismatched chairs, singed blankets, and zero storage. It looks chaotic. Feels unsafe. And guests tiptoe around like it’s a campsite, not your backyard. Here’s the fix: a thoughtfully designed fire pit area diy layout that blends comfort, safety, and smart storage—without blowing your renovation budget.
Why Most Fire Pit Setups Fail Within a Season
People treat fire pits like standalone props. They plop down four Adirondack chairs and call it a day. But without intentional zoning, airflow planning, or hidden storage, the area becomes unusable by fall. Ash builds up. Cushions get soaked. Firewood leans against the house—hello, termite buffet.
And worst? No dedicated spot for tools, logs, or blankets. So everything piles up haphazardly. The “cozy” vibe evaporates fast.
Step-by-Step fire pit area diy Blueprint That Lasts
Forget cookie-cutter plans. This system prioritizes function first—then layers in aesthetics. You’ll build zones, not just furniture.
Map Your Safety Perimeter First
Measure a minimum 7-foot radius from the fire pit center. Mark it with stakes and string. Nothing flammable—chairs, rugs, planters—goes inside this ring. This isn’t optional. It’s non-negotiable fire code logic disguised as design.
Choose Modular Seating Over Fixed Benches
Fixed stone benches look great in magazines. In reality? They crack in freeze-thaw cycles and trap ash underneath. Go modular: use weather-resistant ottomans or stackable stools with built-in storage. Move them when you need to clean. Store throws inside when rain rolls in.
Integrate Discreet, Multi-Use Storage
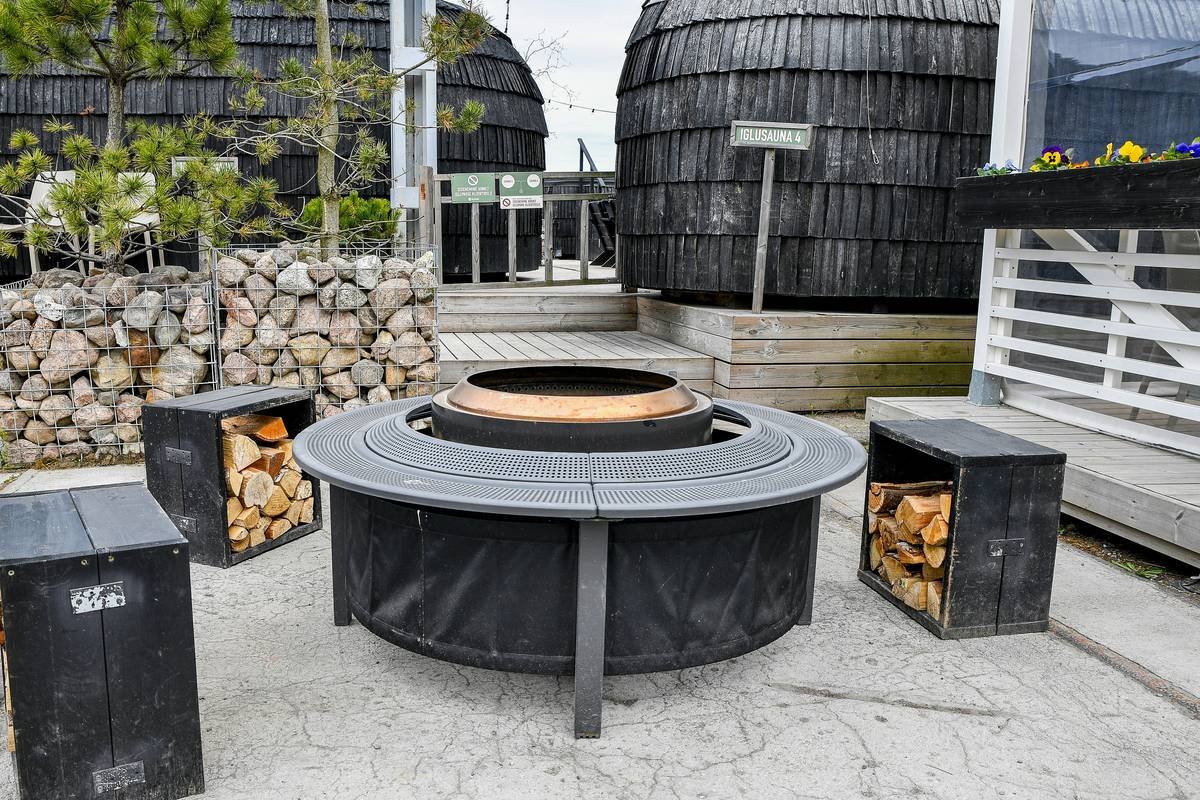
This is where most DIYers skimp. Don’t. Hidden storage solves 80% of maintenance headaches. Think: a log holder that doubles as a side table. Or a waterproof bench that stows fire pokers, lighters, and emergency blankets.
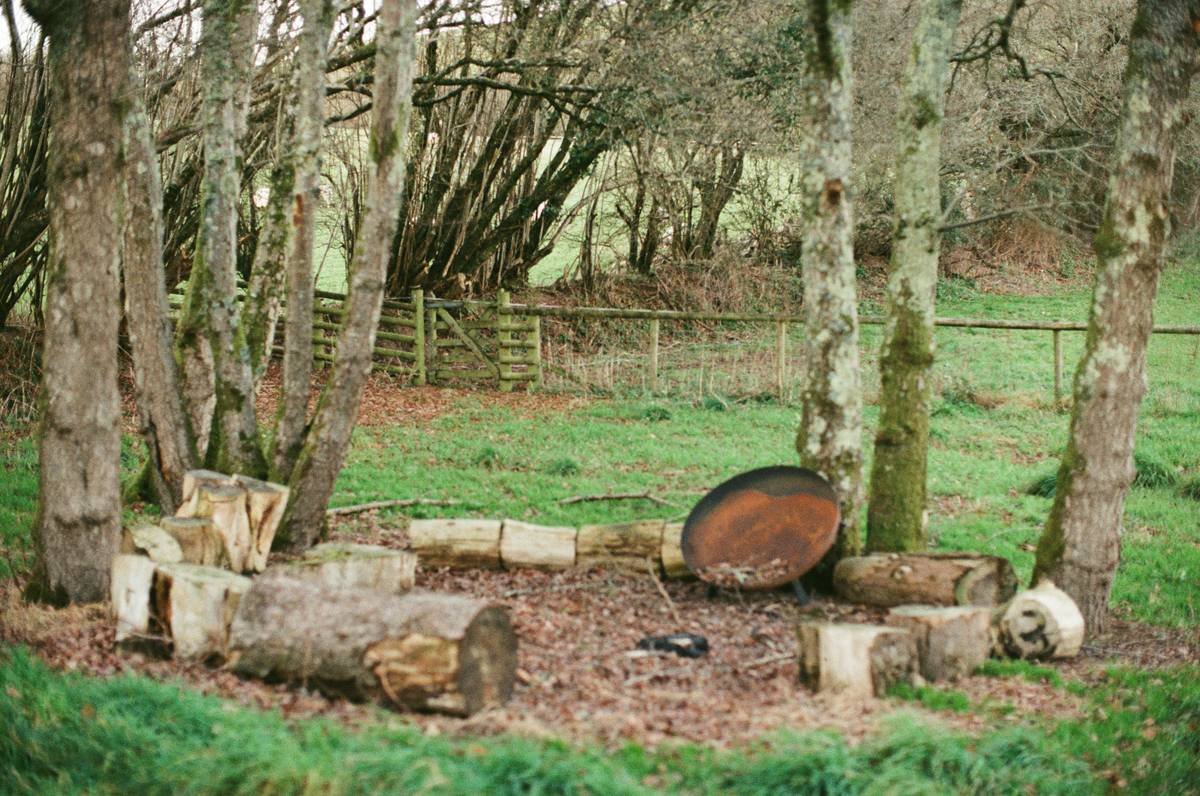
| Storage Solution | Cost Range | DIY Difficulty | Key Benefit |
|---|---|---|---|
| Concrete Block Log Holder (with cap) | $40–$75 | Easy | Doubles as footrest; rodent-proof |
| Weatherproof Deck Box (repurposed) | $60–$120 | Very Easy | Holds cushions + tools; lockable |
| Built-In Stone Planter Bench | $200–$400+ | Hard | Permanent seating + ash disposal zone |
The Industry Secret: “Negative Space” Is Your Best Design Tool
Landscape architects don’t talk about this openly—but the magic isn’t in what you add. It’s in what you leave empty. Around your fire pit, maintain at least two “clear paths”—unobstructed walkways radiating outward. Why? They improve airflow (less smoke in faces), create natural traffic flow during gatherings, and give kids/pets room to move safely.
And here’s the kicker: empty space makes your setup look expensive. Even if you’re using $20 folding chairs. The brain equates openness with intentionality—not cost.
FAQ
How much clearance do I need around a fire pit?
Minimum 7 feet from the fire’s edge to any combustible material—including furniture, walls, and overhanging branches. Less than that risks ember ignition.
Can I store firewood next to my fire pit?
Only if it’s in a fully covered, elevated log rack—at least 3 feet away from the burning zone. Never stack loose logs directly beside an active pit.
What’s the cheapest fire pit area diy upgrade?
Repurpose a galvanized metal trash can as a log holder. Drill drainage holes, add a lid, and paint it matte black. Costs under $30 and lasts years.